1. Click on 'Settings' and Tap on "Accounts"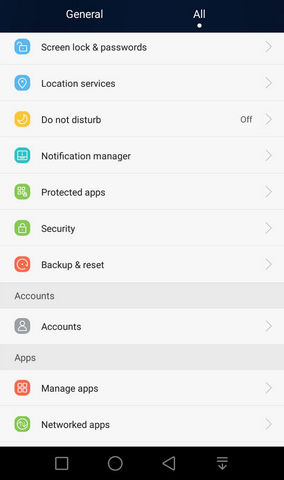
2. Tap on "Add Accounts" at the bottom.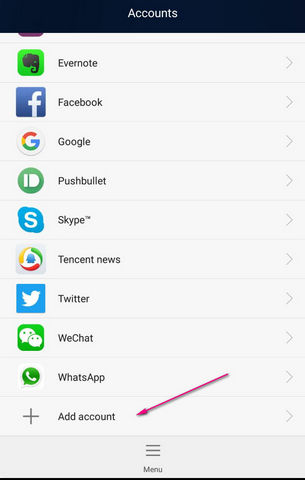
3. Select "IMAP". It is recommended to setup as IMAP so that emails are still available in the server.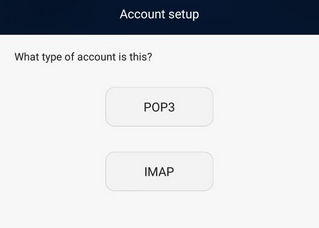
4. Fill in the following details:
Email: Your full email address
Password: Your password
Tap on "Next".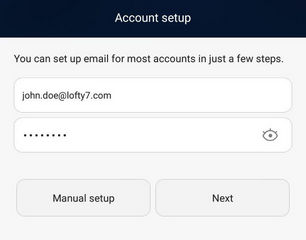
5. Fill in the information for Incoming Mail Server:
Username: Your full email address
Password: Your password
Server: imap.whitebean.io
Port: 993 (IMAP)
Tap on "Next".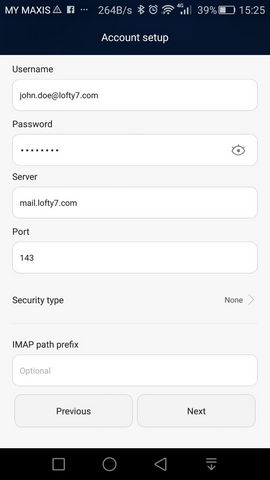
6. Fill in the information for Outgoing Mail Server:
SMTP server: smtp.whitebean.io
Port: 465
Ensure that "Require sign-in" is checked.
Username: Your full email address
Password: Your password.
Tap on "Next".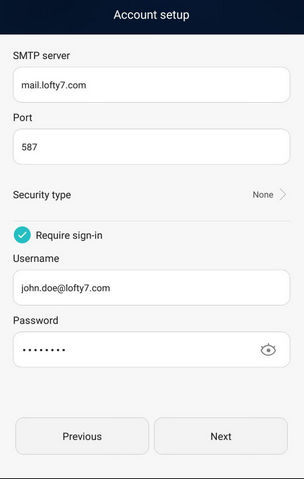
7. Select your Sync Frequency and other preferences and tap on "Next".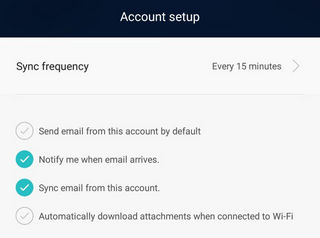
8. Create a name for this account and enter a Name to be displayed when sending emails.
Tap on "Done" to complete the setup.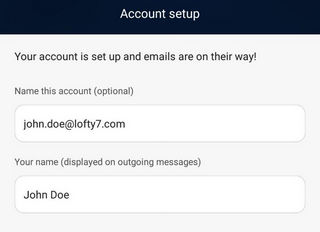
9. You have completed the setup on your Android device. Try to send/receive emails to ensure the setup is working as expected.

